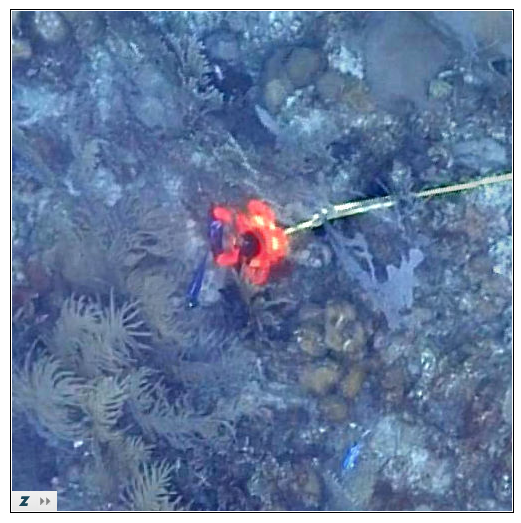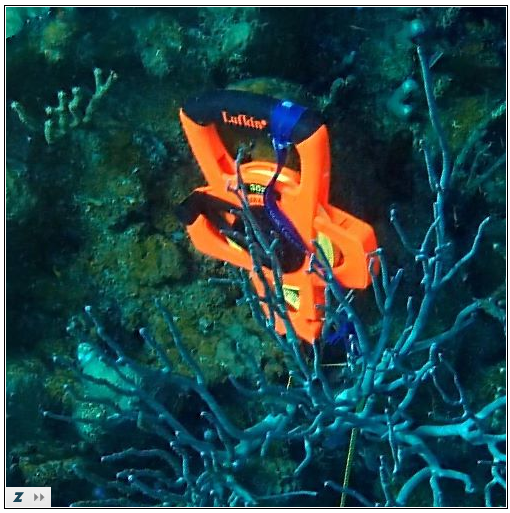

Figure 1 (Left): mosaic at 100% using video frames Right: mosaic at 100% using still frames.
The main goal of the second test site was to check if using still images rather than video would lead to a higher-resolution mosaic. Comparing the first test site done with video against the second test site done with stills it is clear that using the still images gives a higher resolution product (assuming the altitude above the bottom and field of view of the cameras was about the same). For example, compare views from the two mosaics of the tape measure reels:


Figure 1 (Left): mosaic at 100% using video frames Right: mosaic at 100% using
still frames.
Note that when evaluating image resolution it is usually better to refer to the original frames rather than the mosaic itself because the mosaic has resampled the orignal images during the stitching procesa. (You can see the original frames by loading the mosaics "with links to composite images" and then clicking on the little yellow squares.) In this case, compare the two original frames of these reels (click on the low resolution version below to see the full-res original frame; note that in some browsers the full-res original image will be scaled to the size of your window; click on it again to force it to show at full-resolution on your monitor).

Figure 2 (Left): mosaic at 100% using video frames Right: mosaic at 100% using
still frames.
Other comments on this second test mosaic:
There is strong contrast across the image. The left side and part of the top are very bright, while other areas are quite dark. This looks to me like changes in illumination due to clouds over the course of the data acquisition. The other possibility is something was changed on the camera settings during acquision (e.g. ISO levels), but the effect seems to fade in and out, which suggests lighting to me. It produces a bit of a garish look, but this should not pose a problem for any kind of manual analysis such as point counting or polygon digitizing of this image.
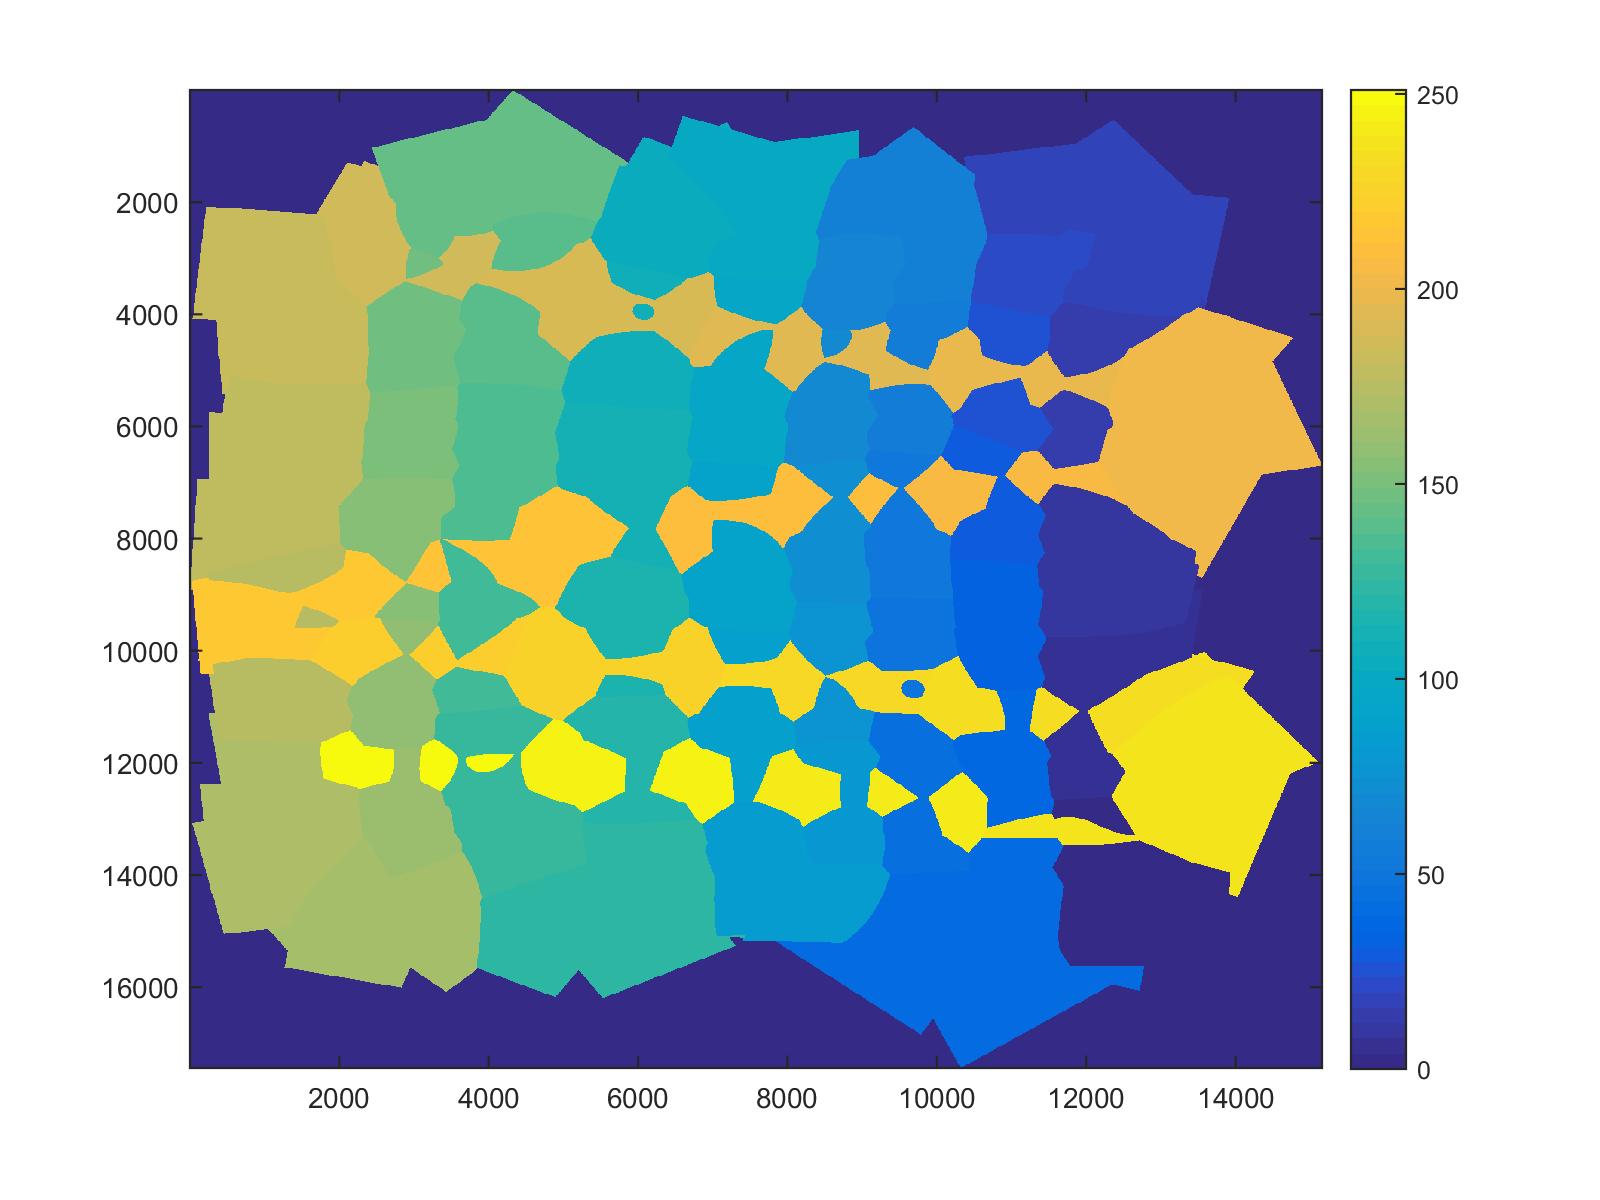
Only 252 images were used as input to this mosaic, which is a small number. It is somewhat amazing this came out as well as it did with so few images. For comparison, we typically use 1,000-1,500 images for most 10x10 m plots. You can see the differences in the following images (click on them for larger versions).

Figure 3: Pixels in the final mosaic colored by their frame number.
Note in figure 3 you can see the track that the diver swam. Starting in the lower right at image 1, the colors increase from blue to a sort of brownish orange in the upper left as the diver swam 9, parallel tracks. Then the diver turned and swam 4 tie lines perpendicular to the original 9 lines. Theses are shown in orange to yellow colors.
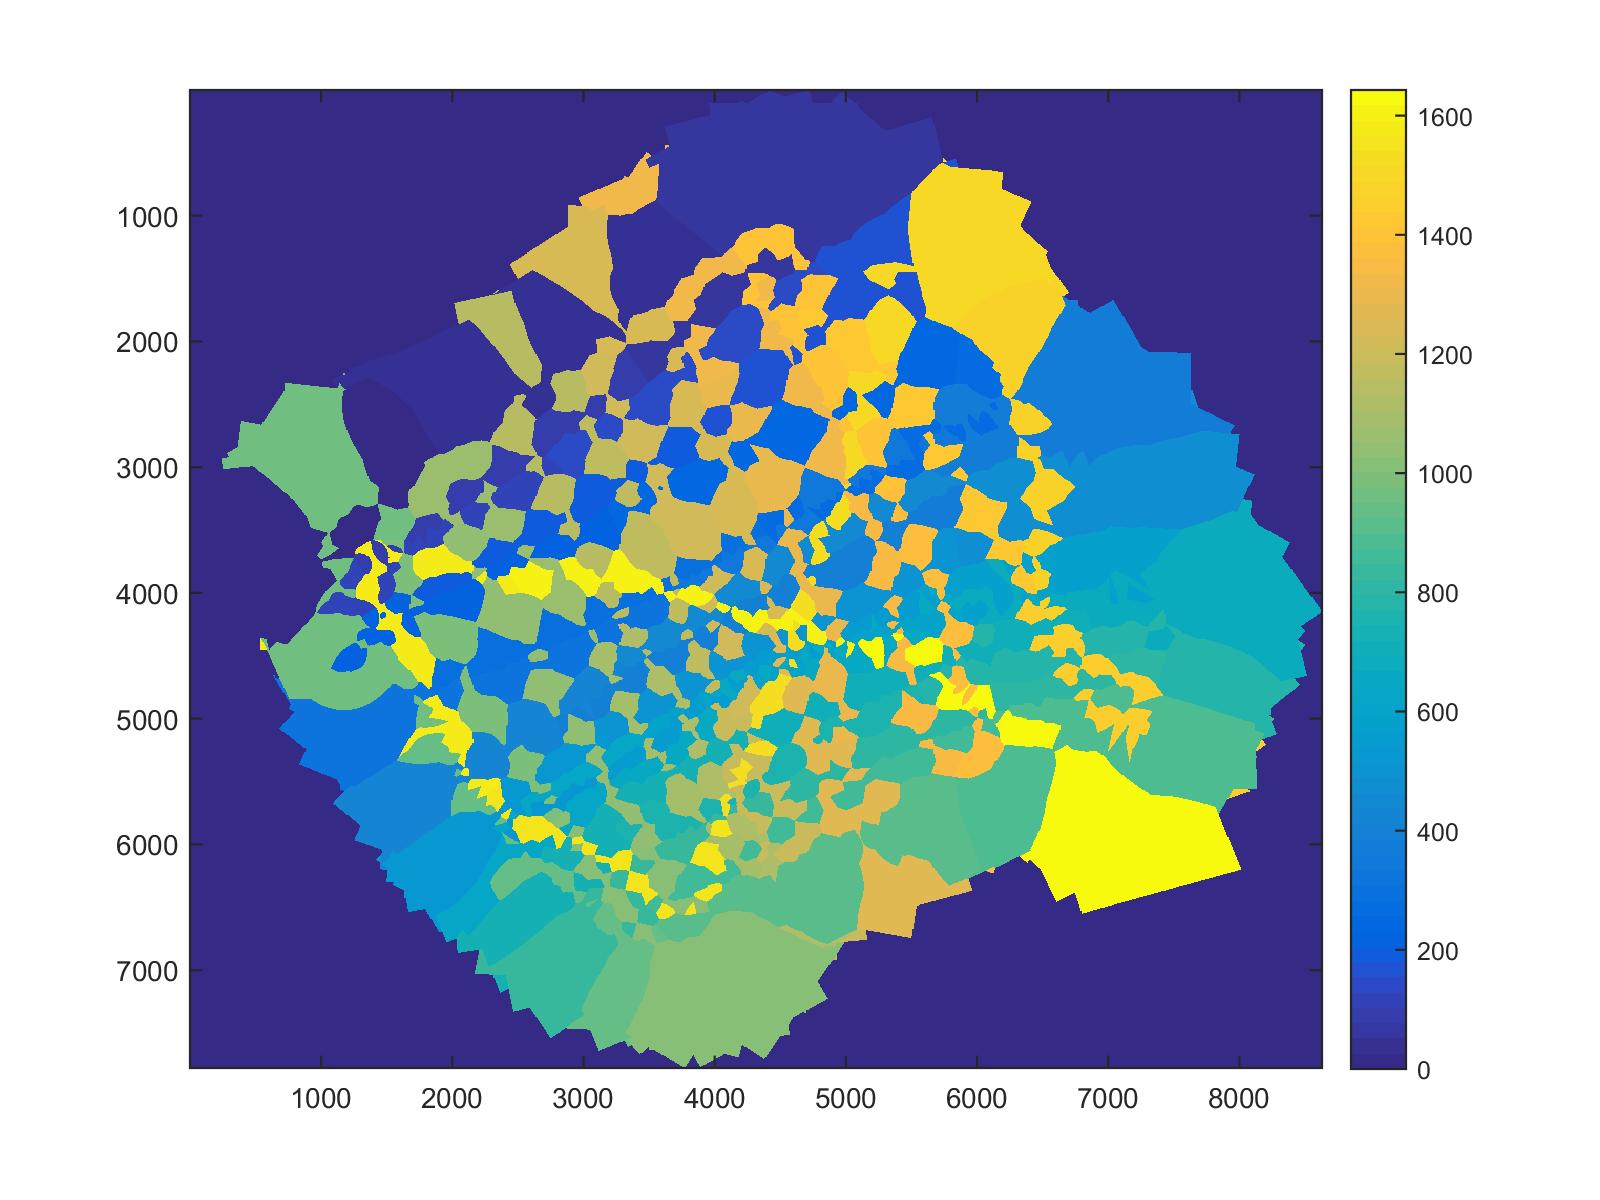
In contrast to the track from this test mosaic, consider Figure 4, the track from another mosaic, also over an area roughly 10x10 m (maybe slightly larger).

Figure 4: Pixels in
another mosaic,
colored by their frame number.
In figure 4 the tracks start at frame 1 (dark blue) near the center top of the image. There are 17 sets of parallel tracks running diagonally from upper right to lower left. Near the center of the bottom of the image, in the light green shade, around image number 1,000, the diver started swimming perpendicular tie lines. Note that there are 14 tie lines, almost the same number as the original direction. Then, for the last 100 images or so, the diver made a final big "X" pattern across the whole image.
The mosaic from the track in figure 4 used ~1,600 frames to cover about the same area as the test mosaic from fig 3 with 252 images. What is the difference? A) there is less ghosting in the mosaic with more images, although certainly not completely artifact-free. B) it's not obvious looking at just the final products, but the mosaic with more images was assembled without relying on any ground control points. Due to the large number of intersecting tracks, the geometry was very well constrained. If we had not had the distances between the corners for the test mosaic with only 252 images it would have come out much more distorted, spatially.
In general, the more passes the better for making these mosaics. On the other hand, due to time constraints it is not always possible to make a full double pass over a given area. In such cases, doing a final "X" pattern, and/or swimming the perimeter around the plot, are good options to use when the number of tie lines is limited.